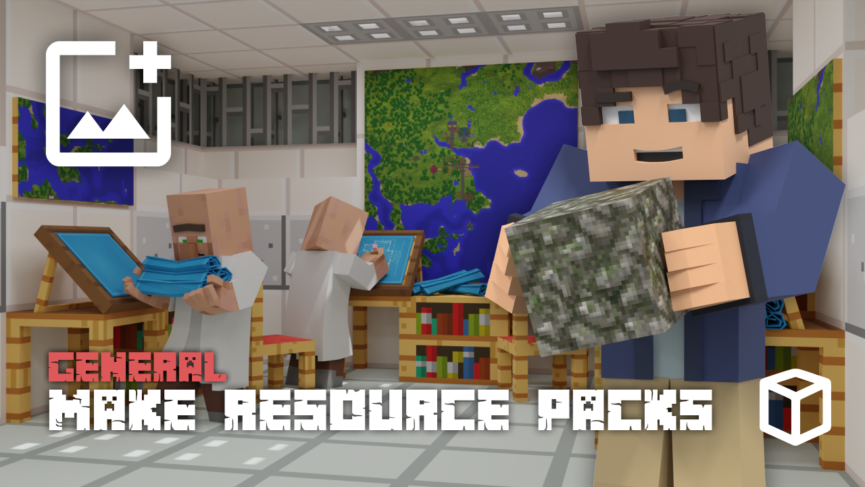
Minecraft is a highly customizable game, with thousands of mods, plugins, datapacks, and more to install. One of the best ways to make your adventures feel unique is to use resource packs. There are tons of them available online, but maybe you want to create your own – from realism to fantasy, anything is possible! With this in mind, we’ll help you get started to make your own resource pack in Minecraft 🔥
Resource Pack Programs
Before you dive in, you’ll want the right tools. Many creators use:
- Paint.NET – Free and lightweight, great for quick editing
- GIMP – A powerful free alternative to Photoshop
- Photoshop – Professional-level editing with advanced features
- Blockbench – Perfect for 3D models and custom entities
- Audacity – Excellent for sound recording and editing
Resource packs may involve custom assets, entities, and more. It all depends on what you’re trying to accomplish, so choose the right program(s) for your needs.
Default Resource Pack
A great way to begin is by using Minecraft’s default resource pack as your foundation. It includes all the original textures, models, and sounds, giving you a reliable base to edit without worrying about incorrect sizing or missing files.
To access it:
-
Open Minecraft > Options > Resource Packs > Open Pack Folder.
- You can extract / copy the default textures for your own use.
-
Download a specific version of the default textures online to use.
- E.g. Alpha, Beta, and other game versions.
Custom Designs
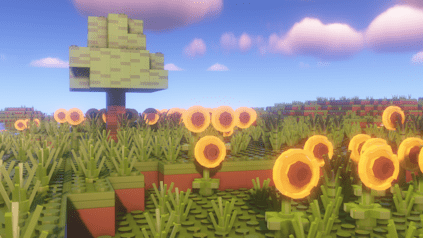
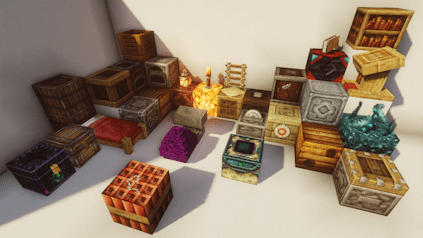
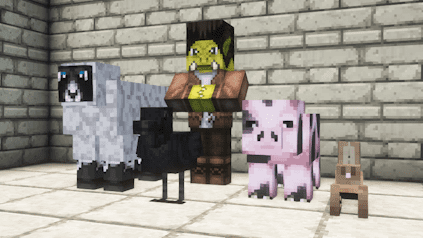
With the resource pack files opened, you can begin customizing them. Whether you want to edit sounds, textures, or add custom items, this is where you can get creative. Many players like to create themed packs such as medieval, futuristic, or cartoon-styled blocks. Be consistent in your design choices so the pack feels cohesive, otherwise it can be a bit chaotic in-game. This process will take the longest, depending on how much you want to accomplish.

Extra Addons
You can expand your resource pack by throwing in addons – which can greatly enhance your designs. For example, OptiFine allows custom item textures (CIT) and connected textures, while model edits can make tools and blocks look entirely different. You can also add language files, UI changes, or animations for an even more personalized experience. Just keep in mind that extra features may require specific mods or Minecraft versions.
Resource Pack Creation
Once your textures and files are ready, it’s time to put it all together!
- Open the resource pack folder you’re wanting to customize.
- Replace the texture, sound, and other files accordingly.
Example directory:…/assets/minecraft/textures/ - Repeat this process until you’re finished, which may include .ogg, .json, and .png files.
- Afterwards, zip the entire resource pack folder containing everything.
- Proceed to drag this zipped file into the
resourcepacksdirectory of your game. - Activate it in-game and test it out!
Your Textures, Your World
Making a Minecraft resource pack isn’t just about changing visuals – it’s about expressing your creativity and reshaping the world. Start small, experiment with different designs, and gradually expand your pack with more textures, sounds, and other features. With practice, you’ll develop your own unique style and maybe even share it with the wider community. Who knows, you might even want to upload your resource pack on CurseForge for everyone to try it out!
Additional Resources
Here are some videos that you can check out, which may help you make resource packs in Minecraft.
How To Make Texture Packs For Minecraft – Full Guide by GuideRealm
Make Your Own CUSTOM Minecraft Texture Pack in Under 5 Minutes by UltraHazard
Pack Making Tutorial #1 (The basics) by Finlay