Overview
Adding mods to Minecraft is a common occurrence when running your own server. Whether this is to bring smaller quality of life improvements or completely revamp the game, there are tons of options at your disposal. This is brought to the next level with modpacks, which are large collections of mods that often fit a theme or overall purpose. While we provide many modpacks to choose from, there may be a separate version or pack you wish to use that is not already available. When this occurs, it will be necessary to download and install the pack manually to your server files. This may be confusing for unfamiliar players, as the process differs depending on the modpack platform. With this in mind, we have created this Apex Hosting tutorial to show you how to get started.
How to Download a Server Modpack
In some cases, certain modpacks might only work in singleplayer because of various reasons. Due to this, developers created server packs that are designed only for multiplayer. This way it removes any client-sided or problematic mods that would conflict with the server.
Alternatively, our support team can install a server pack for you at no extra cost 🔥
Create a ticket and we will get started!
Otherwise, follow the sections below to manually download & install your modpack server pack.
CurseForge
- Navigate to the CurseForge Modpacks page, then find the desired pack.
- At the top of the page, press
Files, then scroll down to see all versions. - Find and click the desired version that includes a
Server Pack.
- On the next page, scroll down to
Additional Filesand pressDownload.
- Save the file to a safe location, as it will be needed later.
Technic
- Visit the Technic website, then press
Browse Modpacks.
- Locate your desired modpack, then click to open it.
- Towards the right-hand side of the page, press
Server Download.
- Like before, save the file to a safe location.
ATLauncher
- Before proceeding, download and configure ATLauncher.
- Once opened, enter the
Packstab, then find your desired modpack. - Press the
Create Serverbutton, then follow the prompts to create your server.
- Afterwards, visit the
Folderstab and clickOpen Folderunder your new server.
- Keep this folder open, as it will be needed in the below section.
VoidLauncher
- Access the VoidsWrath modpacks website, then find your desired pack.
- Scroll down the page and click the
Download the Server Packbutton.
- Move the .zip file to an easily accessible location.
Don’t Have a Server Pack?
In some cases, modpacks will not have an optional server pack download. This means you need to download the modpack locally, then upload its contents to the server. If this applies to you, then compress the “mods” and “config” folders from your installed modpack via 7-Zip. You’ll essentially want to have a zip file with both of these folders inside, that way they can be safely uploaded into your server for extraction.
When you’re ready, follow the steps below!
- Download the modpack you want on your computer, then locate the “mods” & “config” folders.
-
Compress the folders into a single ZIP file:
- a. Highlight both folders, right-click, then select
compress to zip file. - b. Depending on the program you use, the option name may vary.
- a. Highlight both folders, right-click, then select
- After the “mods” & “config” folders are inside of a zip file, make sure this is handy for later.
Server Preparation
Before getting started, we strongly recommend creating a new Server Profile. This would create a separate directory in the FTP Panel, while keeping all your pre-existing files in another profile. This would help prevent conflict with older files, such as mods or configs. Additionally, generating a new world is heavily suggested to avoid incompatibility issues.
- Head towards your Apex server panel, then click
Server Profileon the left.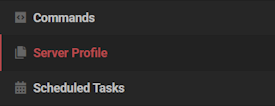
- Select the
Create Profileoption at the top left corner.
- Proceed to enter a
Name,Description, andPermanent Sub Directory.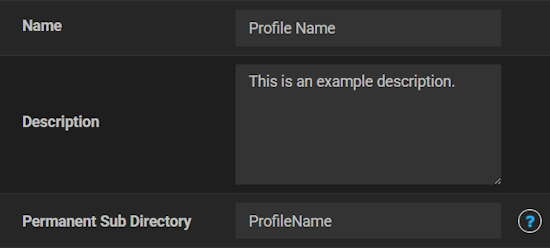
- Afterwards, click
Saveat the bottom and it will automatically activate the new profile. - In the main panel, choose the correct
Game Filefor the modpack.
Example: Fabric 1.20.1 or Forge 1.21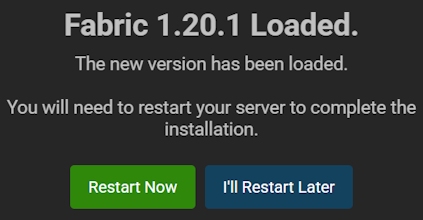
- Make sure to generate a new world when prompted. Optional: Restart or Restart Later.
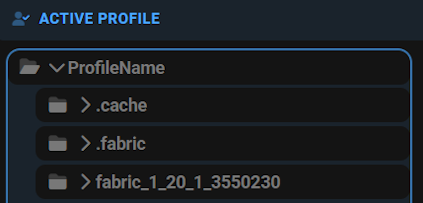
By default there will be no files in this new profile, perfect for uploading a custom modpack.
Uploading the Files
- Click
FTP File Accessat the top left from the main server panel.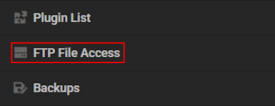
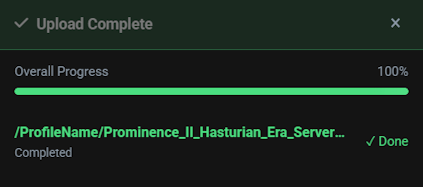
- Login with your password, then drag + drop the modpack zip file in the main directory.
⚠️ This also applies to zip files containing “mods” and “config” folders.
- Wait for this to fully upload, progress is shown at the bottom right.
If the file is too large, then use FileZilla or another FTP program to make the upload.
Unzipping the Pack
- Once the file is uploaded, right-click it and select the
Extract Hereoption.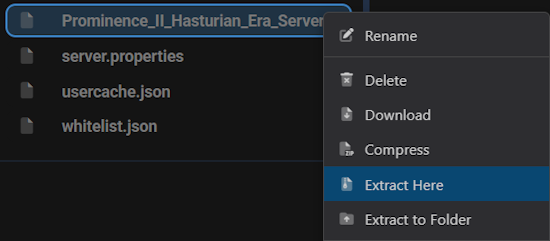
- Wait until you see new directories and files, that means it’s finished.
- Return to the main panel, then start up the server to load the modpack.
This process is best with new server profiles, as there would be no existing mods or config files. Otherwise, you can delete these older files and redo the installation – if you have issues.
(Optional) World Adjustments


Depending on the mods installed, you may also need to adjust the level type. This can be done by entering the Config Files tab, followed by Server Settings. Change the Level Type field to anything you require, then return to the main panel once again. Simply scroll down to the Change World button, then follow the prompts to create a new world.
Common Issues
I have problems using the web FTP uploader:
When using the web FTP uploader, we recommend only uploading small files. Once you begin uploading a large modpack .zip, you may encounter freezing or slow uploads. If this occurs, we highly recommend using an external FTP program for both stability and upload speed. Our full guide on this process can be found here.
The server crashes upon startup:
While there are many reasons why your server may crash, this is often caused by either client-only mods or an incorrect server version. Verify that the server is running both the modloader and version to match your modpack. If your pack is running Forge 1.12.2, running Fabric or any other version will cause a crash to occur. If client-only mods are present, delete them from the server mods, then restart the server.
No mods load on the server:
If you can join the server but no mods are present, this is generally an issue with either the modloader or the location of the mod files. First, ensure you have set the server to run the necessary version of Forge or Fabric to match the pack. Additionally, verify that the mod .jar files are located directly inside of the mods folder. If they are inside of another folder or located elsewhere, the server cannot detect and load them. Once these changes are made, restart the server and try again.
Helpful Links
How to Connect with FTP
How to Install Custom Modpacks (Client-Side)