Overview
When exploring the Norse world of Valheim, playing on singleplayer can be fun, but many decide to team up with other players. While starting a Valheim dedicated server is easy, owners may not want to abandon their existing world progress. Thankfully accessing your singleplayer save files is easy, allowing you to upload them directly to your server panel. While each world has 3-4 files each, they all start with the same name, making it easy to locate the necessary ones. Uploading a Valheim world is easy with the Apex Hosting panel uploader, so we have created this guide to help you get started.
Preparing the World
Before you can access your world files, you will need to ensure the world is installed locally, rather than the Steam cloud. This will only take a few moments to complete and will ensure your world uploads properly.
- Launch Valheim and access the main menu.
- Press
Start Game, then clickManage Savesin the character selection.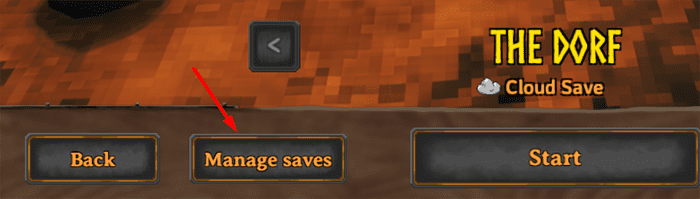
- Enter the
Worldstab at the top of the window, then select your world. - If present, press the
Move to Localbutton.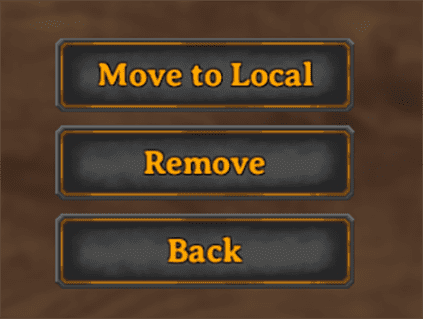
Once the world icon changes and the button says Move to Cloud, you are ready to continue with the below steps.
Locating the World Files
- On your computer, press the Windows Key + R to open the
runprompt. - Enter the following: %APPDATA%\..\LocalLow

- Press
Enterto open a file explorer window. - From here, navigate to
IronGate\Valheim\worlds_local.
- Locate the files that start with your desired world name.
- Using an archive program like 7-ZIP, create a .zip of these files.

Uploading to the Server
- Navigate to your Apex Server Panel, then stop the server.
- In the left-hand menu, enter the
FTP File Accessand log in. - Here, locate the
worlds_localfolder, and enter it.
- Press the
Uploadbutton in the top-left. - Drag + drop your world .zip file, then wait for it to upload.

Loading the World Server-Side
- Return to the
worlds_localfolder, then select your .zip file. - Press
Unzipin the top-right, then selectSubmit.
- Once completed, check the files and make note of the world name.

- Return to the main panel page, then scroll down to the
Worldsection. - Select the
Change Worldbutton to open the pop-up prompt. - Enter the exact world name from previously, then proceed with the prompts.

- Restart the server to load up your Valheim world.
The server will now start up with your desired Valheim world selected, allowing you to join and play like normal!
Conclusion
Following that, you now know how to locate your Valheim world and load it onto a dedicated server! The overall process is very easy, only requiring the upload of a few files for each world. In addition to this, you can upload multiple worlds and switch between them at any time. To achieve this, use the Change World button like before, but switch the name to a different world file that you wish to use and restart like before. Since inventory items are stored on the character itself, you can easily continue your progress across any world with ease. With this newfound knowledge in mind, you are ready to upload your Valheim world and jump back into the action!
Common Issues
I cannot find my world files:
In some cases, older world files may be stored within the worlds folder, rather than worlds_local. To confirm this, simply check both folders for your exact world file. Remember that while each file has a different ending, they will all start with your exact world name from singleplayer.
The server loaded up a blank world:
Oftentimes this issue is caused by the world files being uploaded incorrectly or by having the wrong name set on the panel page. First, ensure you have uploaded the world files and extracted them directly inside of the worlds_local folder and nowhere else. If you are sure it is uploaded correctly, ensure the set world name matches the file’s exactly. If there are any differences, the server will generate a new world for use instead. When you are sure it has been configured correctly, restart the server and attempt to connect once more.